

My Favorite Potting Mix Combo
Do you frequently have to add more potting mix to your pots because it’s disappearing? Want to make a long-lasting potting mix? What about a mix that is healthy for plants?

Top two reasons for making your own mix:
Control over ingredients
Cheaper cost
Let’s read…
Whenever you get into growing and collecting plants, it seems inevitable that at some point you also get into mixing your own potting soil. The fact is, the majority of potting mixes on the market are not made for perennial plants, let alone trees. They are made mostly for annuals for the point of lasting one growing season. Hence, the materials used in them are not very long-lasting, they start to break down and either turn into muck or slowly flush out of pot holes. This is why you’ll see your pots decreasing in soil volume after a period of time. Most fig growers need to “refresh” or “top off” their pots every couple of years or even every year because of this. In other cases, it is because of expense, it can be significantly cheaper to make your own mix. So how to do it?
Any potting mix comprised of compost, manure, composted forest products, or the like will break down rather quickly because that is what these things are meant to do. All organic matter eventually breaks down. Not to mention, ingredients such as compost use a lot of oxygen and can deprive it from plant roots. Ultimately, this can affect plant health because as it is breaking down, you are losing even more aeration, mucky material can build up around the roots, it is no longer able to hold onto nutrients or water for very long. You may see your plants having reduced fruiting or indications of root issues. You may also need to water perhaps multiple times a day in hot weather just to keep the plant from wilting.
Some have realized these downfalls with commercial potting mixes and have turned to making their own so they can have a mix that lasts for several years at the minimum. While organic matter breaks down quickly, minerals do not. Minerals are also what a plant is meant to grow in as that is their food source. Organic matter feeds the microbes, minerals and microbes feed the plants.
By using mineral-based mixes, we can minimize the need for adding potting mix every year to each pot. A certain amount of potting mix will always water out of the drainage holes. But with minerals, this matter isn’t decomposing and can be added back into the pot. Using a fabric pot will limit whatever waters out even more. This allows us to increase the amount of time our trees or perennials can stay in the same pot and potting mix which then reduces the amount of work we need to do. Something very welcome to me!
I have tried a handful of potting mixes over the years and the one that has done the best for me is based off of Gary Matsuoka’s Top Pot soil mix. He is the owner of Laguna Hills Nursery here in California and has a YouTube channel where he has recorded presentations on various topics, one of which is potting mix. He has generously shared the ratios of his potting mix in his videos which I have subsequently made for my plants.
In a short time though, I found his original ratios to not hold enough water for my plants. I am in a dry, drought area and I don’t want to water more than once a day at the height of the growing season and heat of the summer. They probably are perfect for a rainy area, but for me, I need more water retention. So that was change number 1. Change number 2 was to incorporate a small amount of coco coir into the mix. The reason is that peat alone shrinks and can become water-phobic. I found adding a small portion of coco coir helps to keep it fluffy and prevents water repelling.
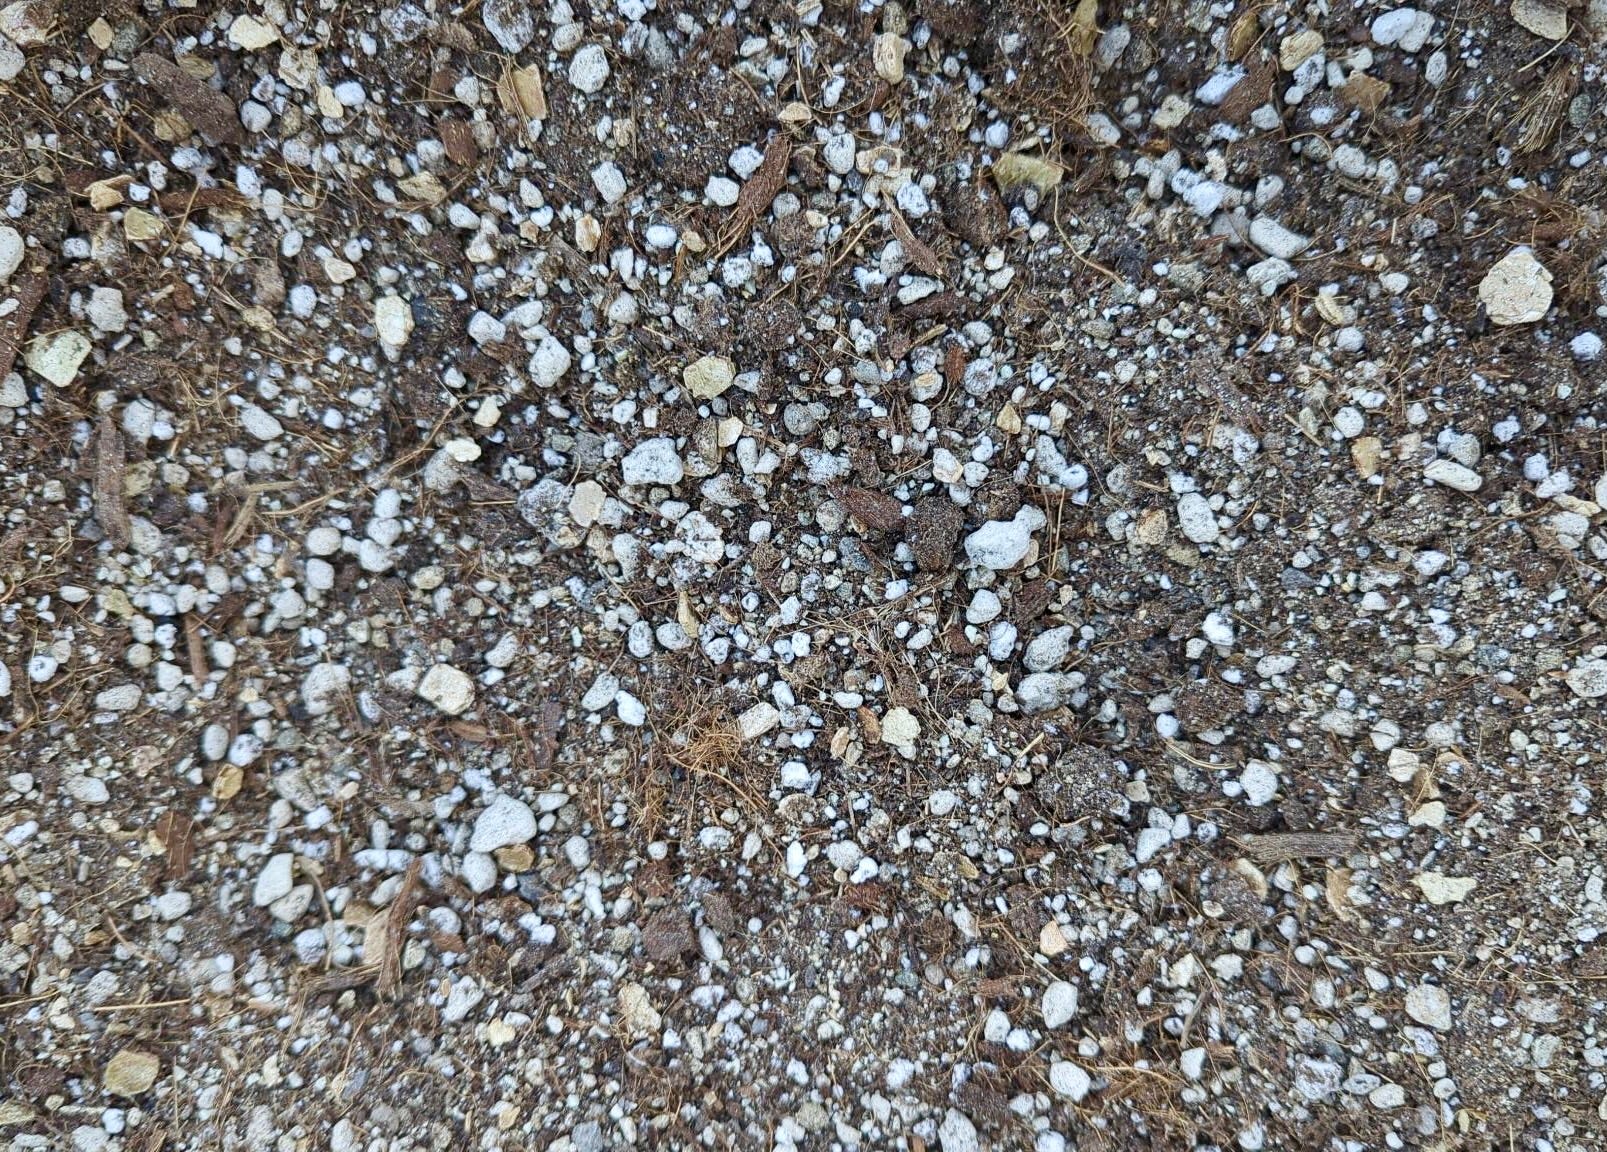
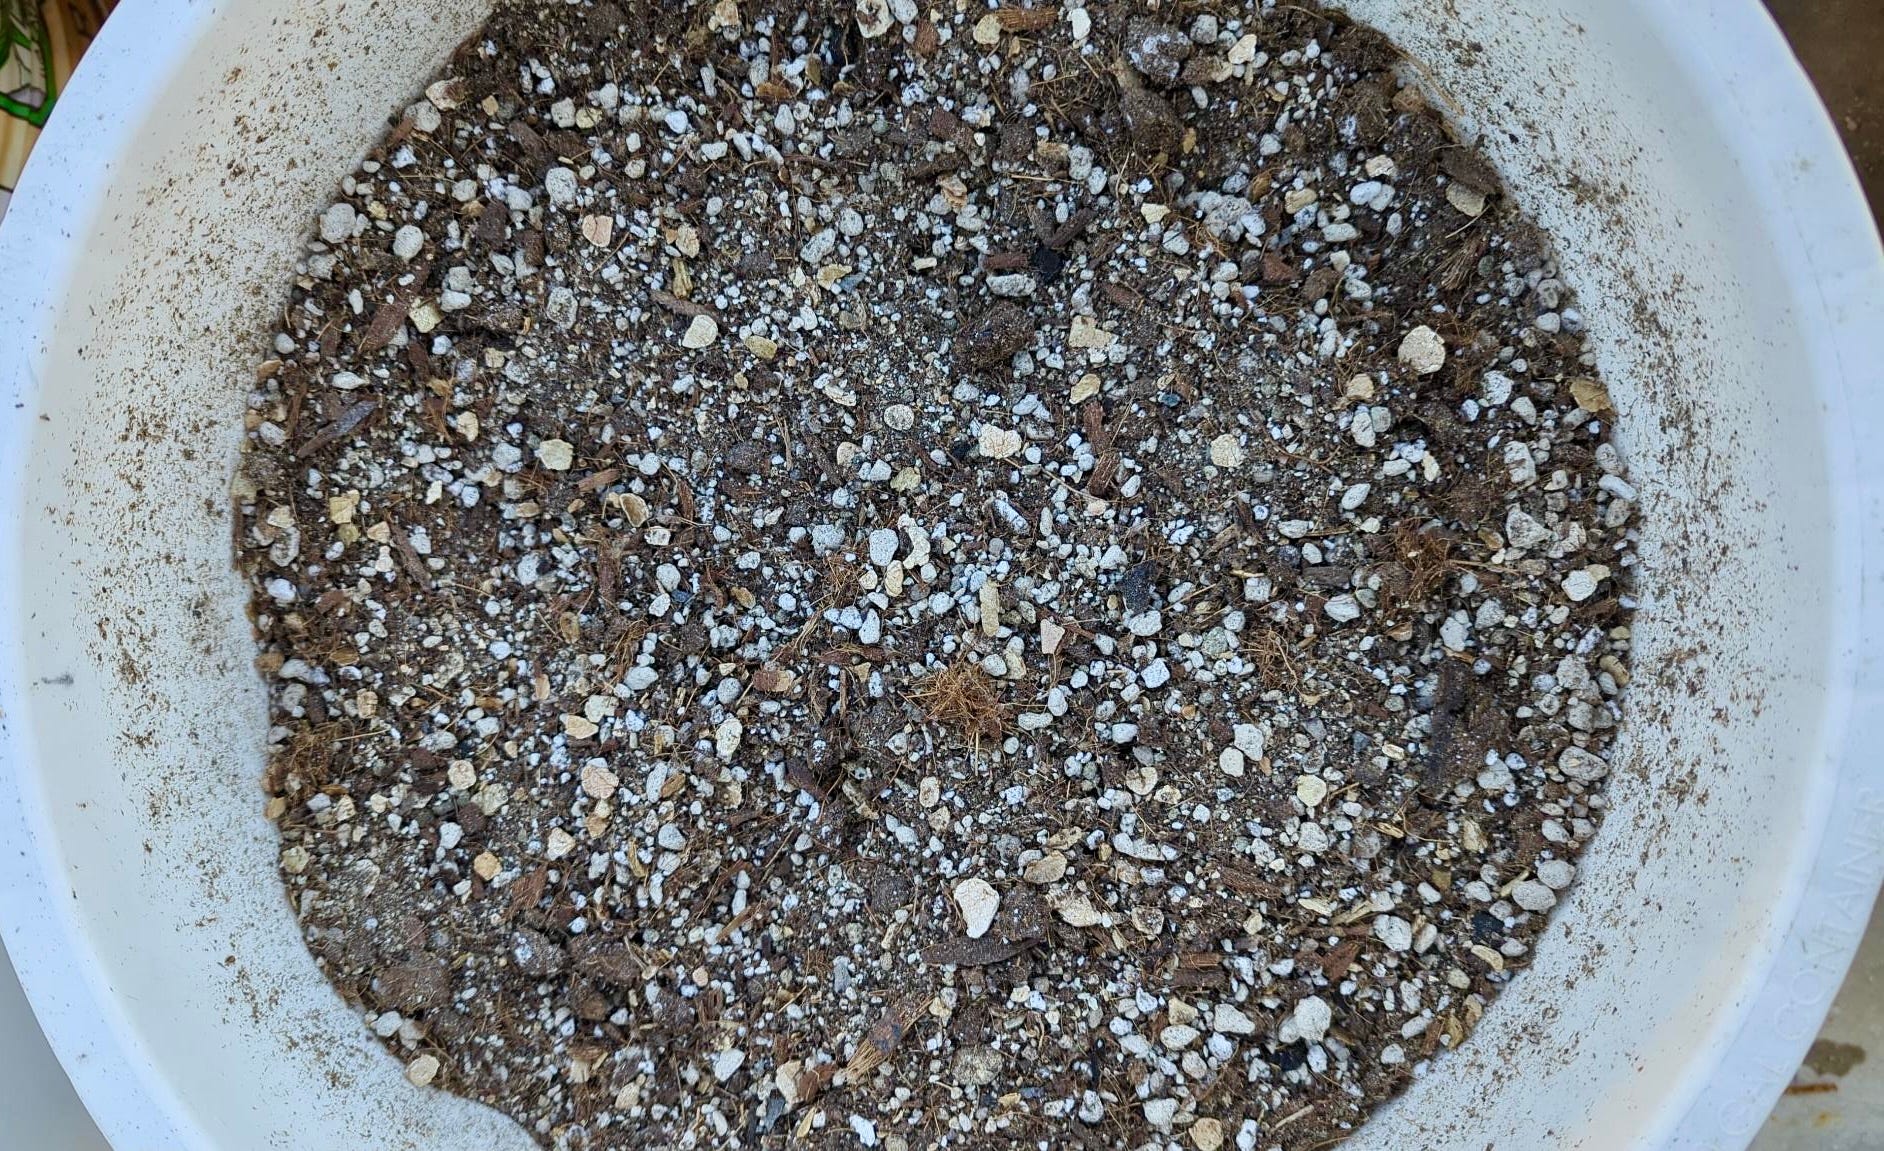
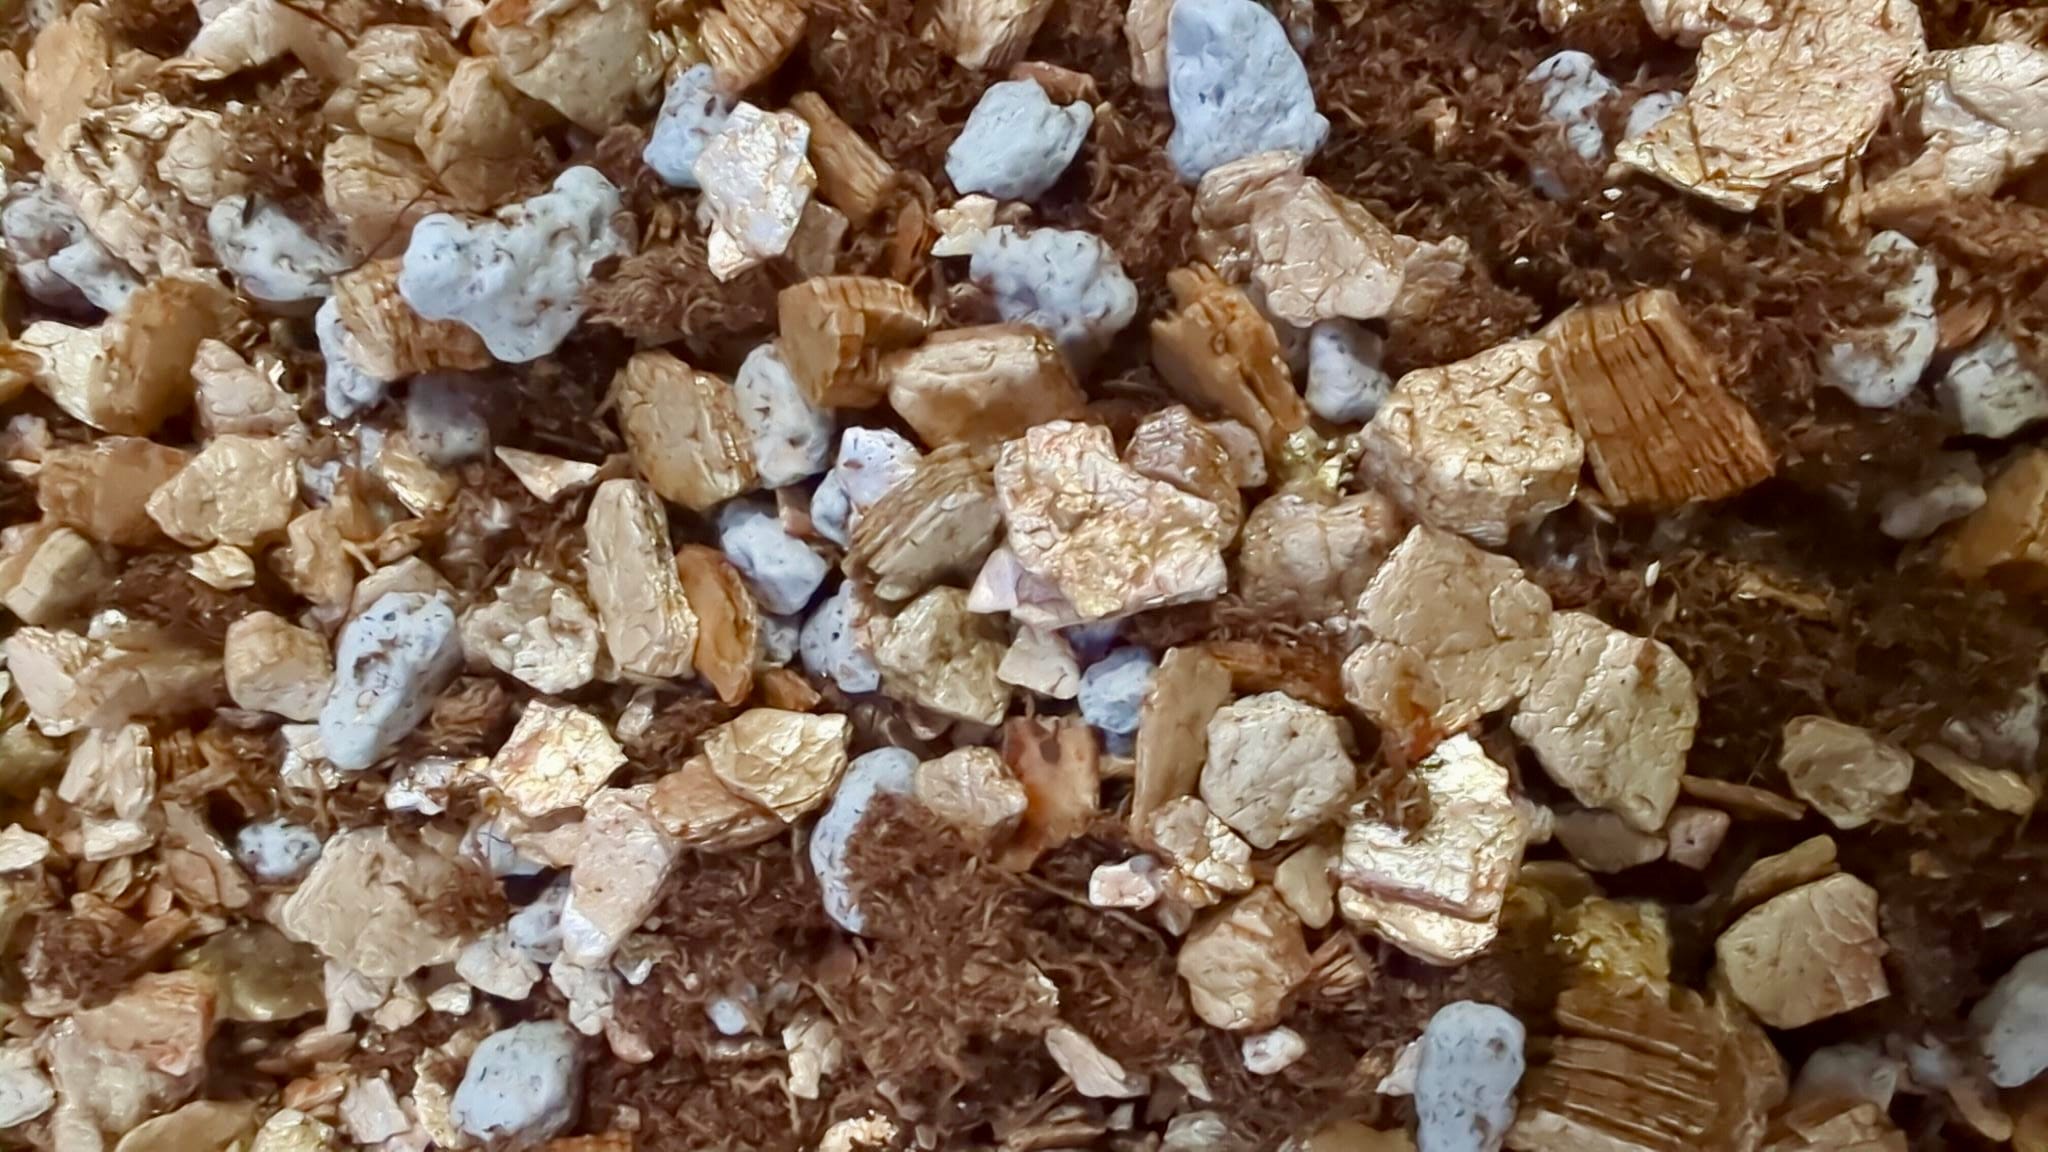
This is my modified version of Gary’s Top Pot:
45% Sphagnum peat moss
25% Pumice (or coarse perlite, to keep it lighter) (Other rock can be used instead, such as non-dyed lava rock, crushed limestone, crushed basalt, crushed granite, pea gravel, etc. Just know that other rock can be heavier than pumice.)
15% Coco coir
10% All-purpose builders' sand or coarse horticultural sand
5% Biochar
Mix it all together and you have potting mix!
This is a little heavier than your average potting mix, but I like that because the wind does not blow any pots over.
I personally can’t go higher than 10% sand because otherwise it is too heavy for my back. (It is a constant reminder I need to strengthen my core, haha. 😝) But I am able to lift this mix just fine.
This is also very easy to personalize to your own needs. If you need more moisture, increase the peat moss. If you need more drainage, increase the pumice or add chunky perlite. If you need it lighter, swap out the pumice for chunky or coarse perlite. (Not the small perlite, but the kind that look like chunky pebbles or little rocks.)
Don’t be afraid of the math, it’s calculator-friendly!
Whenever I have talked about this potting mix, I often find people are intimidated by either the math or the number of ingredients. But both are actually quite simple! Let’s deal with the math—
You just take the total amount of cubic feet of potting mix you want and times that number by the percent of each ingredient.
(1 cubic foot = 7.5 dry gallons)
Let’s say you want the equivalent of 3 bags of potting mix, usually this is around 2 cubic feet per bag, so 6 cubic feet in total. Take 6 and multiply it by the percent listed for each ingredient. That gives you how many cubic feet you will need to get of each ingredient to make your total desired amount of 6 cf.
For example:
6 X 45% = 2.7 So you will need to get 2.7 cf of peat moss
6 X 25% = 1.5 So you will need 1.5 cf of pumice
6 X 15% = 0.9 So you will need 0.9 cf of coco coir
6 X 10% = 0.6 So you will need 0.6 cf of sand
6 X 5% = 0.3 So you will need 0.3 cf of biochar
Mix the quantities all together and you now have 6 cf of potting mix or the equivalent of 3 bags.
A 5-gallon pot can hold around 12-17 quarts of soil, which is equivalent to about 0.5-0.7 cubic feet, depending on the size of the root ball going into the pot.
Let’s say you have four 5-gallon pots to fill. That is 2.8 cf of potting mix that will be needed. (4 X 0.7 = 2.8)
So you take that 2.8 and multiply it by the percentages to get the amount needed for each product so you will have enough to fill all of your pots.
Another way of looking at the percentages is to change it to parts:
6 parts peat
2.5 parts pumice
1 part sand
1/2 part biochar
The part numbers total 10 when added together. So they will give you approximately 10 dry measures of whatever recepticle you use for measuring. For example, if you use a 1 quart pitcher to scoop out your ingredients, you will end up with 10 quarts of material. Or, if you use a 3-gallon pot to measure your materials, you will have the equivalent to fill ten 3-gallon pots when everything is mixed together.
Okay, math is done! Moving on… 😅
This is not enough, you want a potting mix of gold??
Well… I hear ya. 😏 My plants are my babies too and I am reading about various things constantly that I want to try out. There are so many different mineral-based materials that can be used when making your own potting mix. So what some things we can modify to tailor it to our needs?
Play with the ratios to match your own personal needs: Note that my mix is 60% water-retaining and 40% aerating materials. This ratio can be adjusted anywhere down to 35% water retention and 65% aerating to match Gary’s original recipe. I wouldn't go lower than that. So you can change the ratios to match your climate and watering needs.
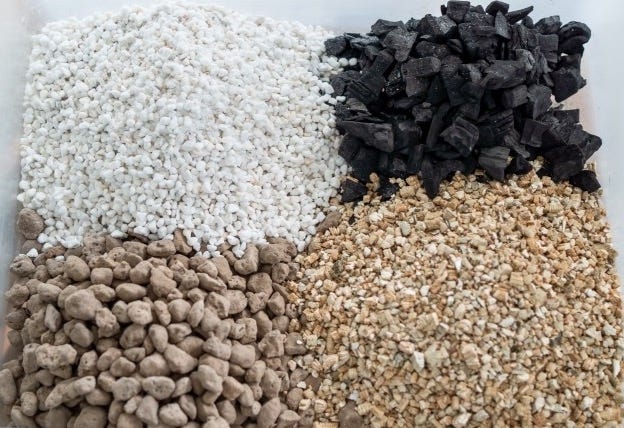
Change up the ingredients: There are so many cool things we can add to soil for nutrients, paramagnetism, CEC, etc. that all still fall under the mineral designation. Or perhaps we need to change according to what we have available locally. Not a problem! Here are some materials to play with. ↓
Water-retaining materials—
This is the only part not mineral-based. These are longer-lasting than wood products or compost.
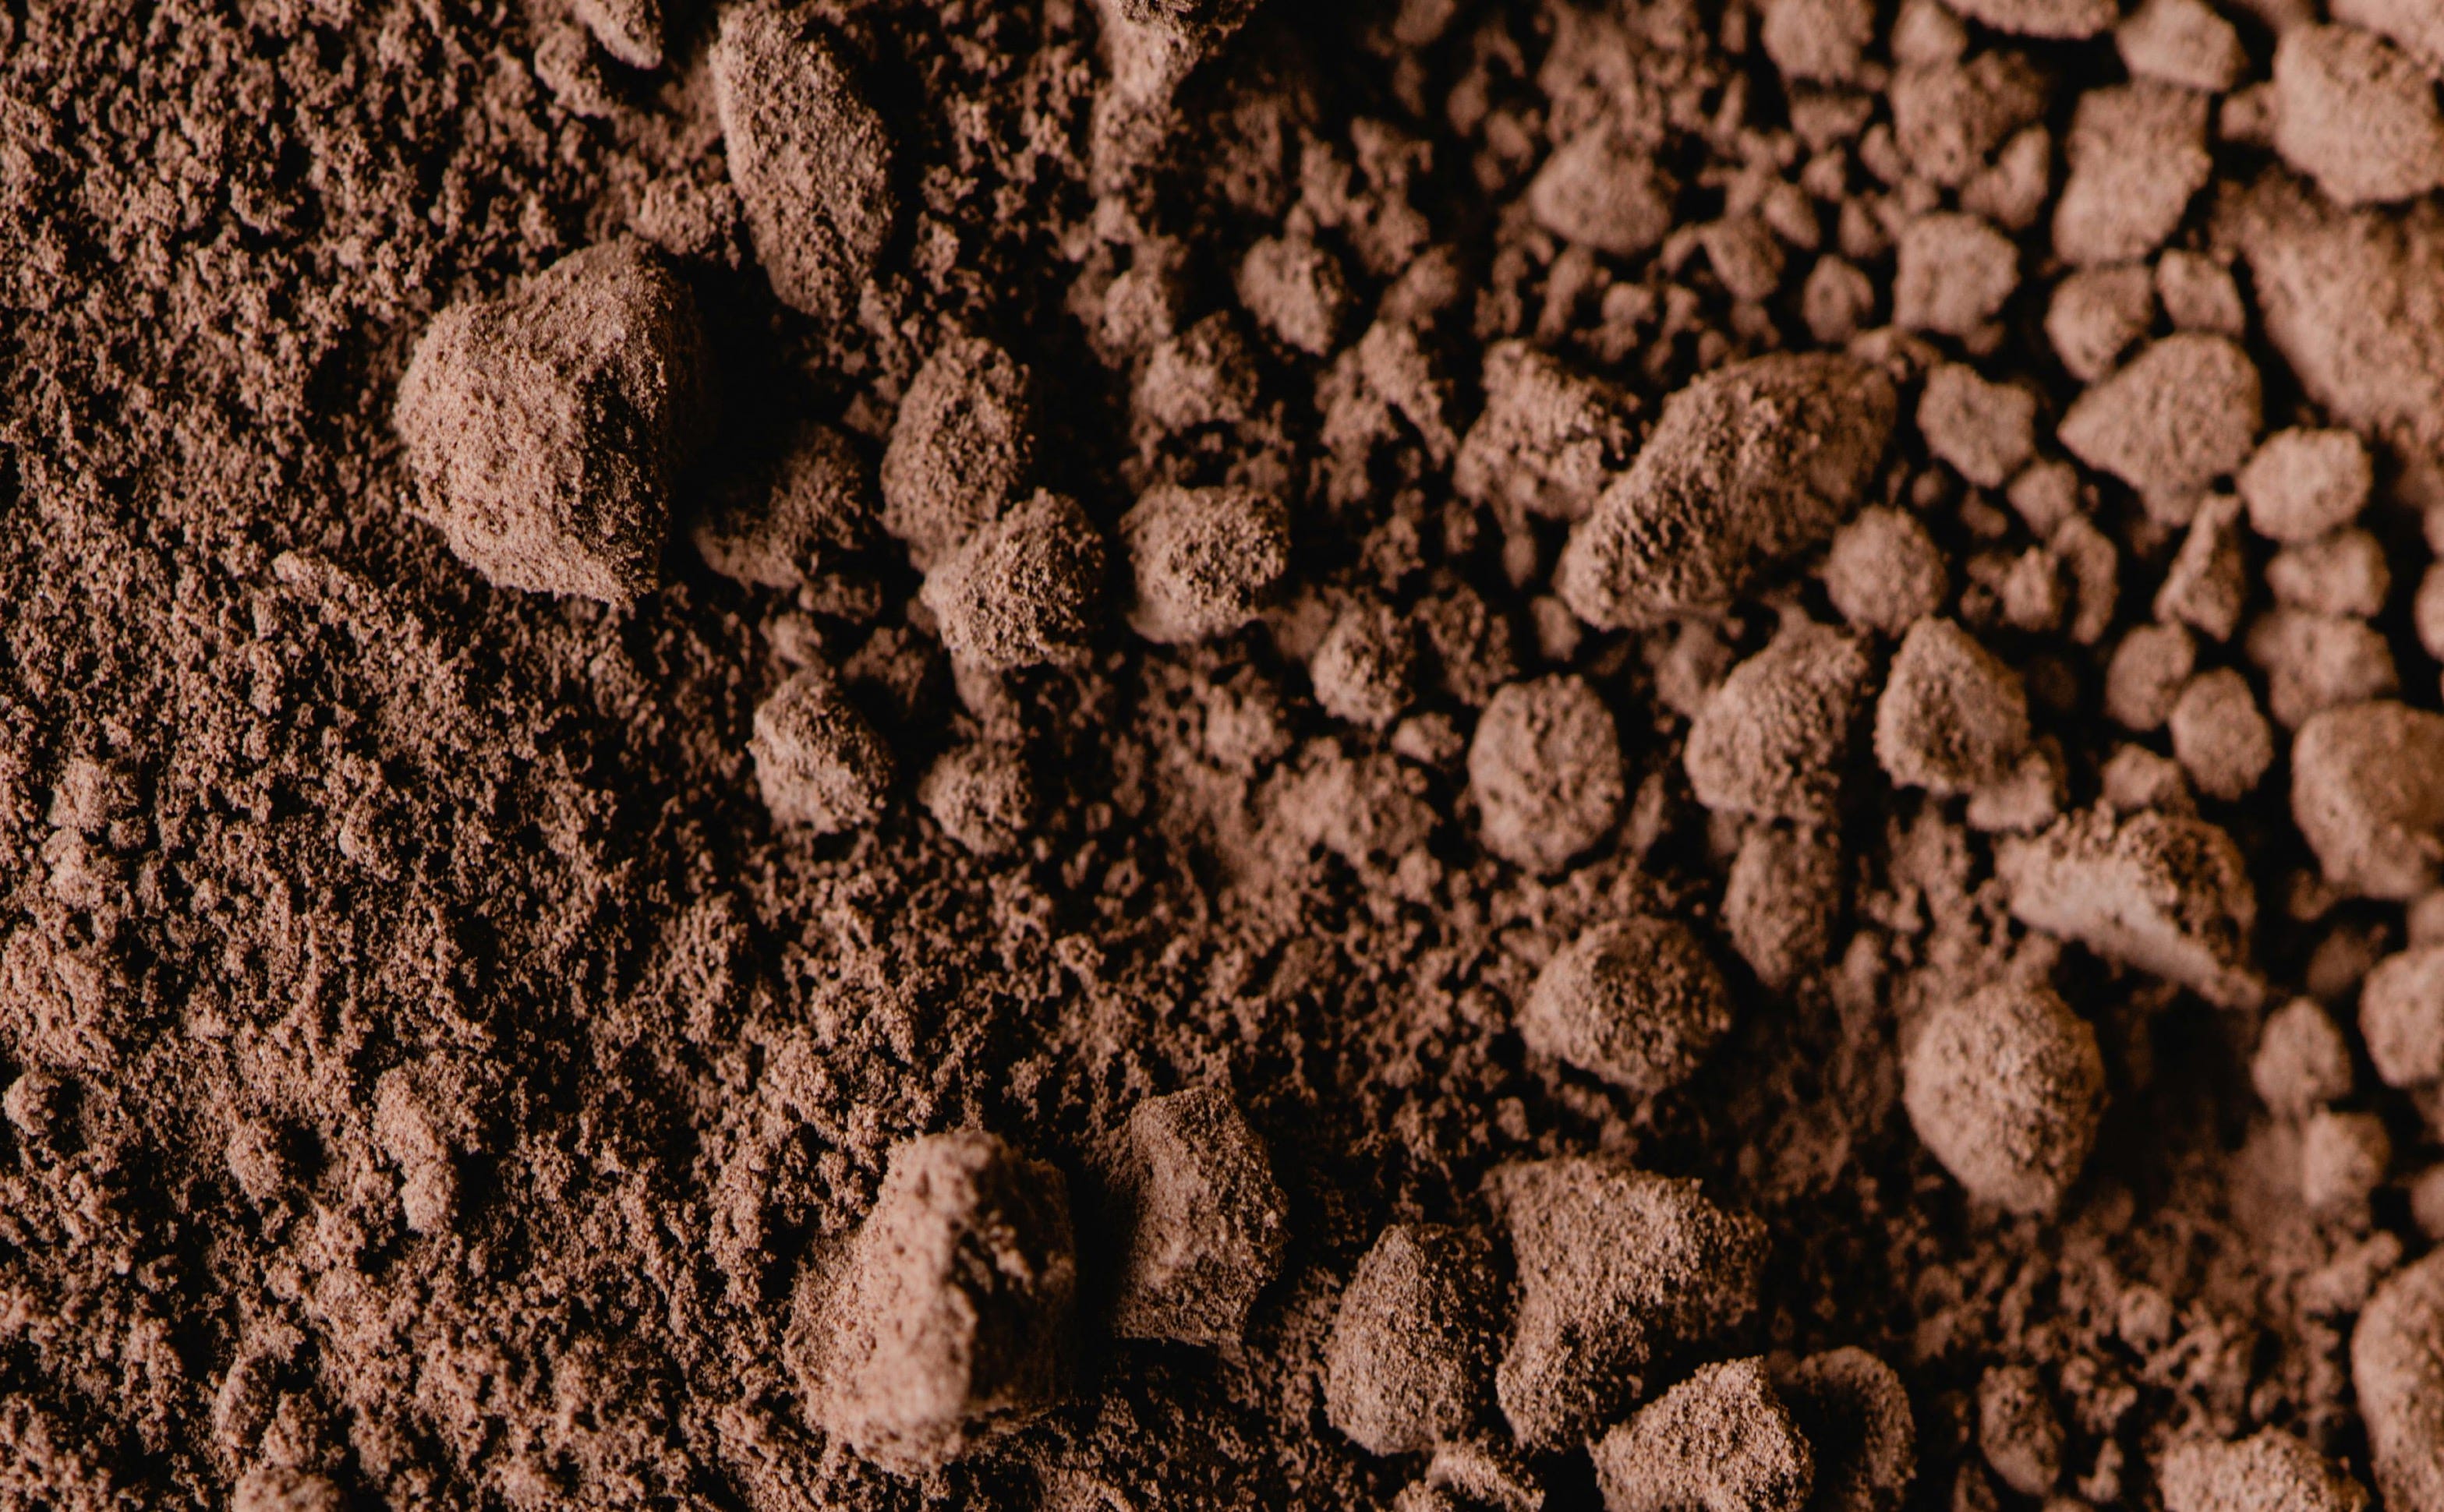
Sphagnum peat moss
Long strand coco coir
Aerating materials, no moisture retention—
Pumice
Coarse Perlite, No. 3 or 4
Volcanic rock
Crushed Limestone (natural calcium!)
Crushed Granite (like pebbles) (paramagnetic)
Decomposed Granite (like sand) (paramagnetic)
Pea Gravel
Basalt crushed or dust, not fine, should be like pebbles or sand (paramagnetic)
Aerating materials, some moisture retention—
Calcined Clay Pellets, such as EP Minerals Safe T Sorb
Pelletized Zeolite, such as KMI 8x14 or 4x8 (good CEC)
Pelletized Diatomaceous Earth, such as OptiSorb sifted
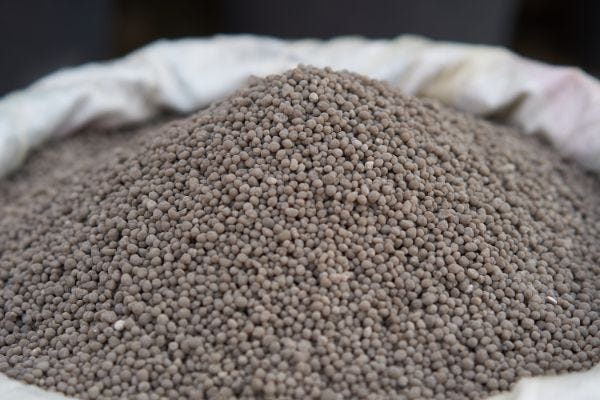
Biochar (paramagnetic)
LECA (soak in water before using)
Expanded Shale
I am always playing around with each batch of potting mix, adding things, taking away things. (I often swap out a small portion of peat for vermiculite.) Much depends on what I have on hand or what I want to use up. I encourage you to as well! Try out some things and see what you like best.
Too much, too much, I want it more simple!
Hey, hey, sometimes we have lives to live outside of plants and just want something simpler. No problem, I got you too!
Simplified Top Pot:
55% Sphagnum peat moss
30% Coarse Perlite, No. 3 or No. 4
15% All-purpose builders’ sand
♢ This is a good balanced mix that shouldn’t be too heavy and should work in a variety of climates. The materials are also commonly available.
There are also these simple mixes that can be used. ↓
Simple Mix 1:
1:1:1 peat : sand : perlite (or pumice)
♢ Good for areas that are rainy or those that want more aeration. This is a very aerated mix that will require a lot of watering.
Simple Mix 2:
50/50, Peat (or coco coir) / perlite (or pumice)
♢ A good balanced mix and starting point.
Simple Mix 3:
6 parts Sunshine Mix #4
1 part EP Minerals Safe T Sorb (found at auto supply stores and Tractor Supply)
♢ More water-retentive. Sunshine Mix #4 already has perlite mixed in at about 30%. Adding the calcined clay pellets makes it about 60% water retentive and 40% aerating. Make sure the clay pellets are mixed in well and not in a situation to clump together.
(This mix was recommended by a longtime fig grower with the user name AscPete on one of the fig forums. Credit goes totally to him.)
*All of the above mixes can also be used for rooting cuttings.*
Why should we add amendments?
All of the potting mixes above are essentially blank slates. Some will slowly provide nutrients over time, but they have no immediate nutrient availability for current growing needs. So we need to add them.
Some will say that peat moss has nutrients, but according to the Encyclopedia Britannica: “Peat moss typically contains less than 1 percent nitrogen, with phosphorus and potassium levels below 0.1 percent. It is primarily used to improve soil structure and water retention rather than as a significant source of nutrients.”
Peat moss is not considered a fertilizer due to its low nutrient levels. However, it is a good source of carbon, it can hold onto nutrients really well and has humic acid which helps to make nutrients more plant available.
Coco coir as it breaks down releases significant amounts of phosphorus and potassium. However, it is low in all other nutrients including calcium, nitrogen, and magnesium.
Sodium and chlorine can be quite high in coco coir and this is why it must be rinsed several times before using. Make sure any product you buy states that it has been rinsed, otherwise this is something you will need to do.
Decomposed granite or basalt both have various trace minerals, which is one reason I like to use them. Because they are a large part of my mix, I don’t need to add them separately later. Sand, however, is mostly just silica. Trees do love sand! But if sand is a primary ingredient, we will need to add the other trace minerals.
Perlite has zero nutrients, it is sterile and inert. Pumice also has very low nutrient content. Its advantage is that it has a ton of pores which store nutrients, are homes for microbes, and retains both water and air.
Biochar does not typically add nutrients, it depends on what it was made from. Usually, biochar is made from wood, but sometimes it is made from manure and that can have a lot of nutrients. I have seen biochar made from bone, and this can have both calcium and phosphorus. The majority of biochar on the market is wood-based though, and is not considered a nutrient source. Wood-based biochar needs to be charged before use, otherwise it can actually pull nutrients from the soil to hold onto them. It is charged simply by soaking it for a few hours in a nutrient solution of choice. Its primary purpose it to improve soil structure, it is long-lasting, it stores nutrients to release later, and microbes love it. It can also be paramagnetic in quality.
So here is what to add:
A mineral mix with calcium and trace elements should always be added. The mixture in this article can be used, or we can just add some oyster shell flour, some gypsum, and Azomite or glacial dust. If we used basalt, we can eliminate the Azomite. Mineral mixes can be added directly to the potting mix as we’re mixing it all together.
We should always top dress with organic matter. We don't want to mix in the organic matter into the potting mix in any great quantity because that will undo the benefit of having a mineral-based mix and it will no longer be considered that. A very, very small amount of worm castings can go into the mix, but it is best to primarily top dress with them as they will significantly decrease in volume very quickly. This is true for compost as well. Doing this mimics nature, and allows the nutrients to trickle down with each watering while preserving the soil volume in our pots.
Anytime you top dress, you usually want to mix your product into the top few inches of soil a little bit. This is because some items will clump together when water gets on them, such as calcium products, or the wind can blow them out of the pot. In other cases, we don’t want the product to dry out too much or be fully exposed to the sun because this can decrease microbial life or nutrient content, such as with worm castings or some types of compost. Because fig roots can grow close to the surface and it's harder to mix any top dressing into the first few inches, I prefer to mix these items with some extra potting mix first and then top dress with them all together.
Fertilizer should also be used throughout the growing season. You all know I am partial to ferments and fish amino acids. These are watered in or are top dressed if in a dry format, just like the above.
A mycorrhizal and bacterial product is also good to add if the peat moss does not already include it. It will help to make all of the nutrients available to your plants.
What is the best way to make a large batch of potting mix?
I have to admit, this is a tough one for me and I’m always on the lookout for good suggestions. Really you just have to buckle down and do it in my opinion.
Some suggest laying a heavy-duty tarp down on the ground and layering the materials on it. Then you use the tarp edges to pick it up and roll the materials together until sufficiently mixed. (You may find some videos on YouTube of this or of using a tarp to mix concrete, it’s the same concept.)
Others use compost tumblers or concrete mixers (without concrete powder residue in them) to mix everything together in batches.
My elderly dad, who’s still quite an active guy, just likes to dump everything out onto our concrete patio and mixes it all together with a shovel, rake, or hoe as appropriate. He won’t do otherwise!
How to store extra potting mix?
I store extra potting mix in 10-gallon plastic trash cans with lids and these have done just fine for me. Large plastic totes can also work. Same with buckets with lids.
Some use heavy-duty trash bags with ties. Just be careful to avoid fragranced ones as they can contain chemicals that are not desirable for plants.
What about using soil from my backyard?
Well, you certainly can do that if you like. Some have really great soil and you might as well use it if you have it. The main downfall to this is weight. This is why most potting mixes are based on composted wood fines or peat moss — they are so much lighter. Technically, many plants and trees in nurseries used to be grown in sand as it was cheap and readily available. It was the hefty weight that made it undesirable as nursery plants are meant to be moved and carried to gardens. Our own soil can be just as heavy.
The other caution is if your soil is very clay-based or otherwise unbalanced, it may give you more trouble than it is worth. But if you feel like giving it a try, I ain’t gonna stop you! 😉
There has to be one I can buy, right?
If you like the idea of making your own, but just feel overwhelmed by it, I totally understand. As mentioned above, Gary’s Top Pot is a great one… if you can find it. It’s mostly located in California at select nurseries.
When purchasing a mix, look for one made for trees, such as a palm or citrus mix. Sometimes a cactus or succulent mix can work as well. If they are too aerated, you can add a little bag of peat to them. These still will not have the same longevity as the above mixes, but they do usually have more mineral components in them which helps.
Stay away from mixes designed for vegetables or cannabis, such as Fox Farm. They are great mixes for the type of plants they are made for, but they are not meant for long-term growing or for trees. You may have to re-pot more often than you’d like with them.
These potting mixes are the perfect canvas to build upon. So go forth and paint them with fig tree life!
What do you think? Will you make one of these or do you have a favorite already that you make? Let me know!

That looks like a good mix. I use a similar mix of roughly 50% Pro Mix and 50% pumice. The pro-mix is mostly peat moss. I've had good results using 100% pumice as well. And, I also had good results using 100% granular diatomaceous earth. It is sold under the name "Floor Dry". It looks similar to pumice.